My disclaimer is that this cake was not my idea. I saw a post for Tiramisu Pound Cake on one of my favorite blogs (Everyday Occasions by Jenny Steffens Hobick). But she hadn't listed the recipe, and her cake was a vanilla pound which just isn't quite my thing (I mean, if you are going to splurge on calories, why do anything but chocolate?!? :-) So, then this recipe was imagined up, and it is definitely a keeper!

Tiramisu Pound Cake with Sweet Mascarpone Cream
Ingredients: Cake
1/2 lb butter1/2 cup shortening
3 cups sugar
5 eggs
1 cup milk
1 tsp vanilla
1 tsp baking powder
1/4 tsp salt
5 Tbsp cocoa
3 cups flour
Ingredients: Glaze
1/4 cup coffee, cooled1/4 cup coffee liquor (I used Kahlua)
1 1/2 tsp vanilla
Ingredients: Sweet Mascarpone Cream
1 cup chilled whipping cream1/2 cup mascarpone cheese
1/4 cup sugar
1/2 tsp vanilla
Make the cakes:
- Preheat oven to 350. On medium speed in a mixer with paddle attachment, cream butter, shortening & sugar. Add eggs one at a time, mixing after each addition. Add milk and vanilla; mix well. Combine dry ingredients and add gradually to butter/sugar, mixing well after each addition.
- Pour batter into greased and floured round cake pans. Bake at 350 for 50 minutes, or until knife inserted in middle comes out clean. Allow cakes to cool for a few minutes, then loosen the sides and allow to cool completely.
- Cut cakes in half (see below for instructions).
 |
| cakes, ready to go into the oven |
Make the icing:
- Place all ingredients for the sweet mascarpone cream icing in the mixer with the whisk attachment. Beat on high until mixture thickens (about 2-3 minutes).
- Cover and chill in refrigerator until ready to assemble cake. The icing can be stored for a few days if needed.
Assemble:
- Brew coffee and cool to room temp (a little time in the freezer speeds this along nicely). Mix together the coffee, Kahlua, and vanilla.
- Start with cake layer up-side down, and brush the underside of the layer with the coffee mixture using a pastry brush. Carefully place this side down on the cake stand/platter, then brush the top side of cake with coffee mixture, then mascarpone cream. Repeat until all layers are used.
- If desired, garnish with fresh strawberries. Keep cake refrigerated until ready to serve.
Notes:
1. Cutting the cakes in half: I know this sounds silly, but there is definitely an art to this when you are dealing with rather thin cakes. Bryan knew right away what to do, and it was rather ingenious, and made the whole thing pretty easy. Here are his instructions.
 |
| you will need fishing line and a sharp knife (we had 2 lb test on hand) |
 |
| make cuts about 1 inch into the cake on four "sides" |
 |
| feed the fishing line into the four cuts, then have them cross one another, and pull in opposite directions gently |
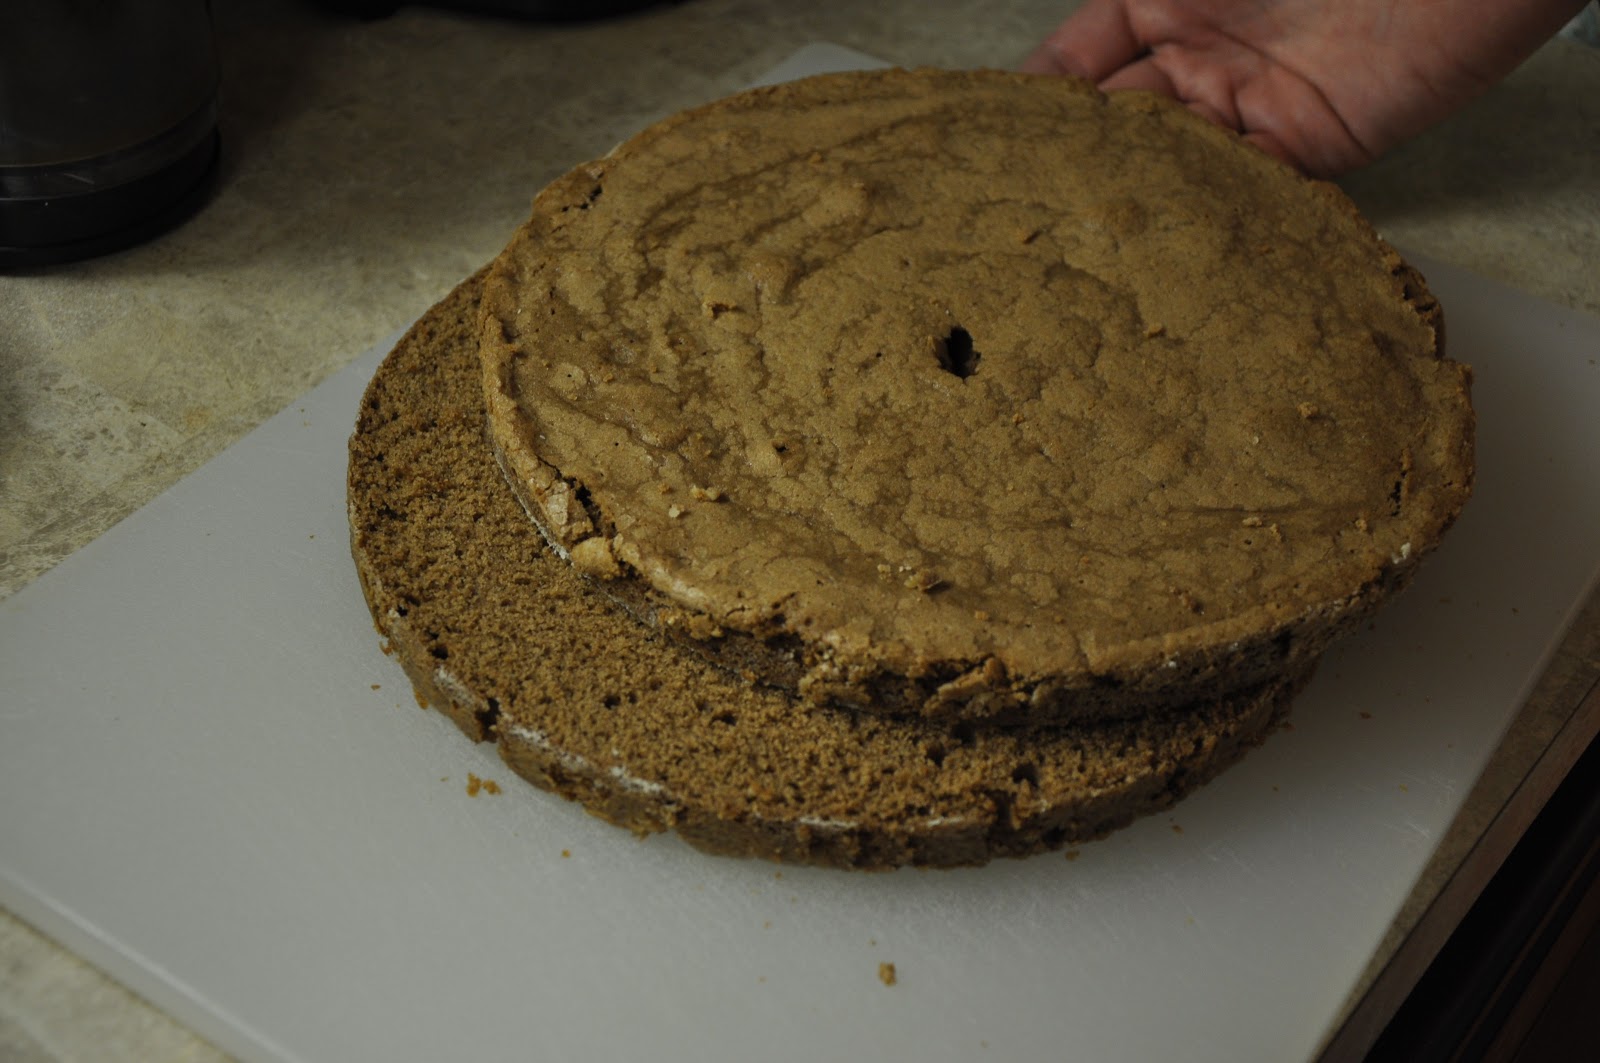 |
| perfectly cut! |
2. How much this recipe makes: In the past I have always used this cake recipe to fill up a bundt pan. Obviously, I used 2 round cake pans this time instead. As I was making the cake, I realized that I needed a dessert for the next day for school, so I saved a little batter to use for cupcakes. These also came in handy for testing the glaze recipe. They also turned out supper cute - which made me think that you could definitely do these as mini-cakes for a shower or party.


In the picture above, I cut the cupcake in half, dipped each half very briefly in the glaze, then put the top of the cupcake (which is the top layer of the two) upside down. The domed part of the cupcake (which was facing down) helped create a nice space for the icing, which made it extra pretty (obviously, this effect did not happen on the cake because there was no dome and each layer of the cake was so heavy).
 |
| our sample plate - it took about 5 tries to get the concentration right on the glaze |
Long story short - if you use the entire cake recipe for two round cakes, your layers and consequently your cake will probably be a little thicker than mine turned out to be.
3. Cake assembly timing: I assembled the cake a few hours before we ate it because I was worried about it getting too soggy. But when we ate leftovers the next day it was just as good or better. So feel free to assemble a day in advance.
Enjoy!
No comments:
Post a Comment